Showing posts with label Dessert. Show all posts

Saturday, December 31, 2011

Crunchy Peanut Butter and S'mores Cookie Bites


A couple years ago I participated in a cookie exchange. I really wanted to make a cookie that no one had ever had before. After doing a lot of investigating I came across a great recipe. The only trouble was that it took hours to put the cookies together. They were such a hit but I didn't want to go through all that trouble making them again. This year I decided to try the cookie recipe as a bar. They still tasted great and it took a so much less time and effort to make. The original recipe is worth a try if you have the ambition to really impress your friends and family with something different. I will put that recipe at the bottom of this post if you are interested in trying it out. 


Sorry the pictures on this post are so bad. My camera stopped working so I took these pics with my cell phone.


Ingredients:


1 cup crunchy peanut butter
3/4 stick of butter
2 1/2 cups powdered sugar
1 1/2 cups puffed rice cereal 
12 ounces semisweet chocolate chips, melted
1 cup graham cracker crumbs
3/4 cup coconut flakes
1/2 to 1 cup marshmallow fluff


Yields around 2 dozen bites


Time: 30 minutes prep time and 5 minutes cooking time (in microwave)


Directions:


Pour chocolate chips in small microwave bowl. Microwave for 1 minute and 30 seconds on 50% reduced power. Stir and microwave in 20 second increments until chocolate is melted completely. 


Line a 9x13 inch baking pan with parchment paper. Pour melted chocolate on paper and spread an even layer across bottom of pan. 


I would recommend skipping this next step because it stopped the chocolate from sticking to the rest of the bar and it kept falling off. 

But here it is if you were curious... Mix the graham cracker crumbs and coconut together. Evenly spread half the mixture across the chocolate.


In a small microwave bowl melt butter and peanut butter. Mix well.


Pour powdered sugar in medium bowl. Add melted peanut butter and butter mixture to the powdered sugar and mix well. 


Fold in puffed rice cereal.


Place dollops of mixture on top of the chocolate mixture in pan. Refrigerate for 30 minutes.


Remove from fridge and gently spread topping into a smooth, even layer.


Spread marshmallow fluff in a smooth, even layer.


Spread the remaining graham cracker crumb/ coconut mixture on top of the fluff. If you skip the step that I recommend you will have plenty of this mixture, if you don't, you might want to make more to cover the top completely.
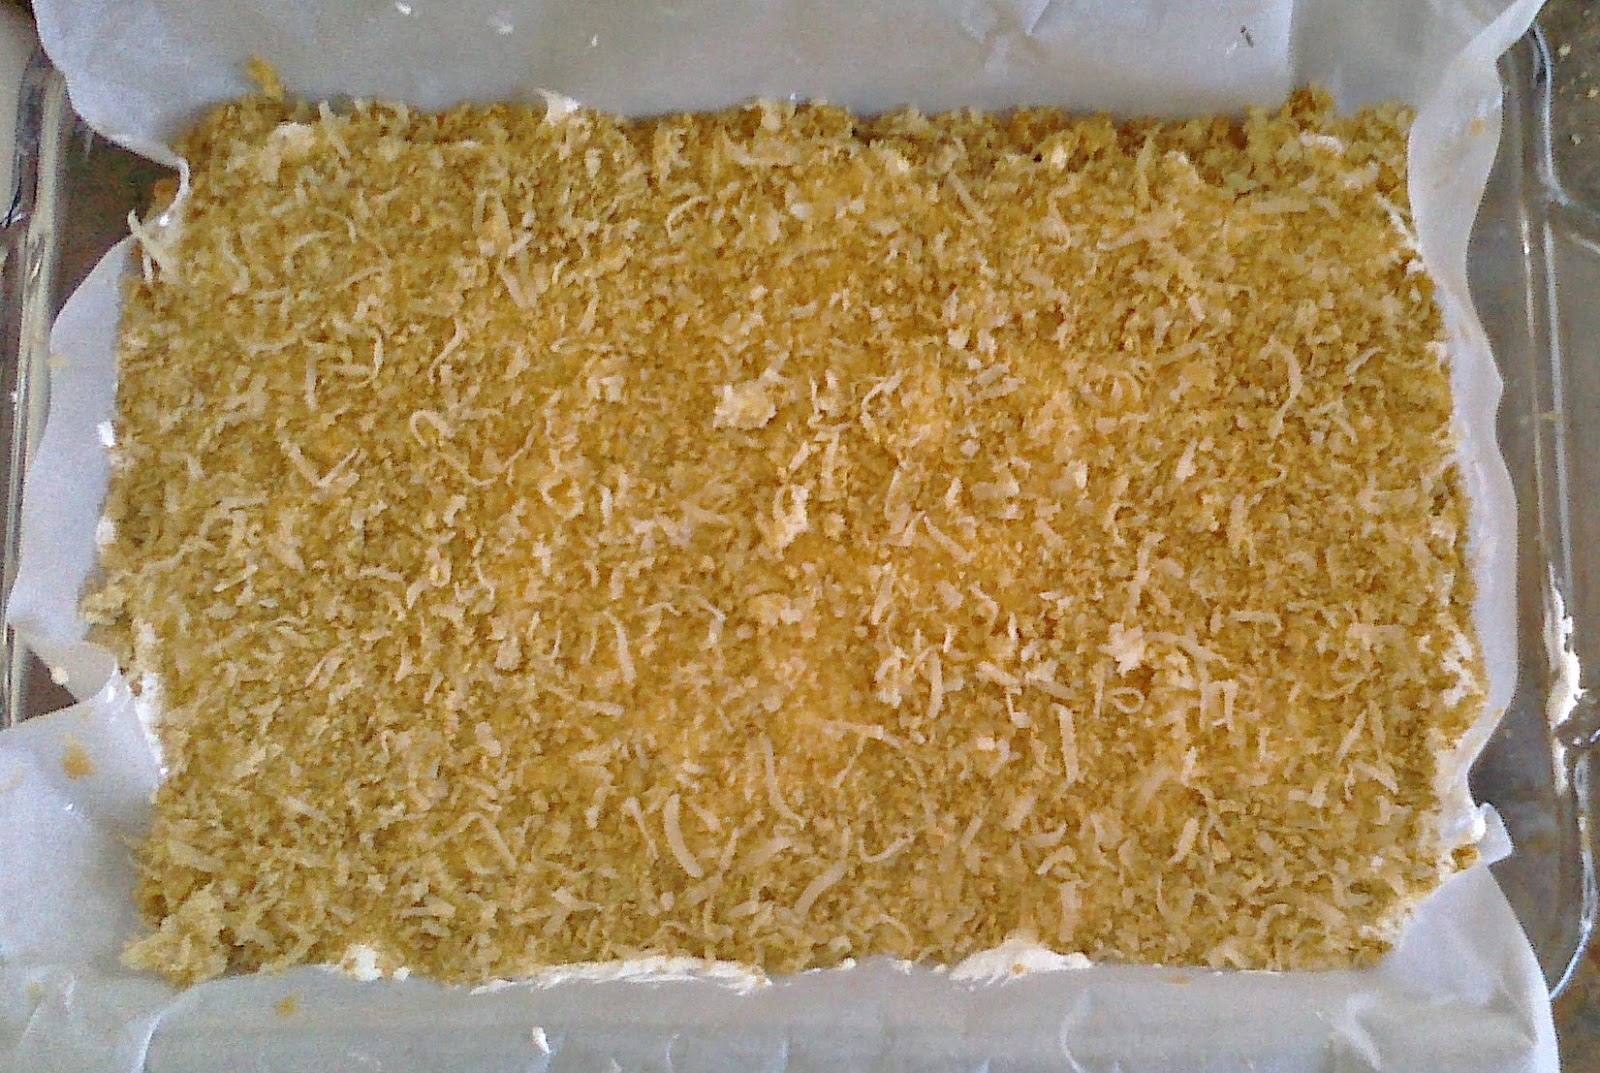

Cover and refrigerate for 2 hours before serving.  To cut easily, pour hot water in a coffee mug. Place a sharp knife in the hot water and cut one section at a time. Replace knife when it becomes sticky. 

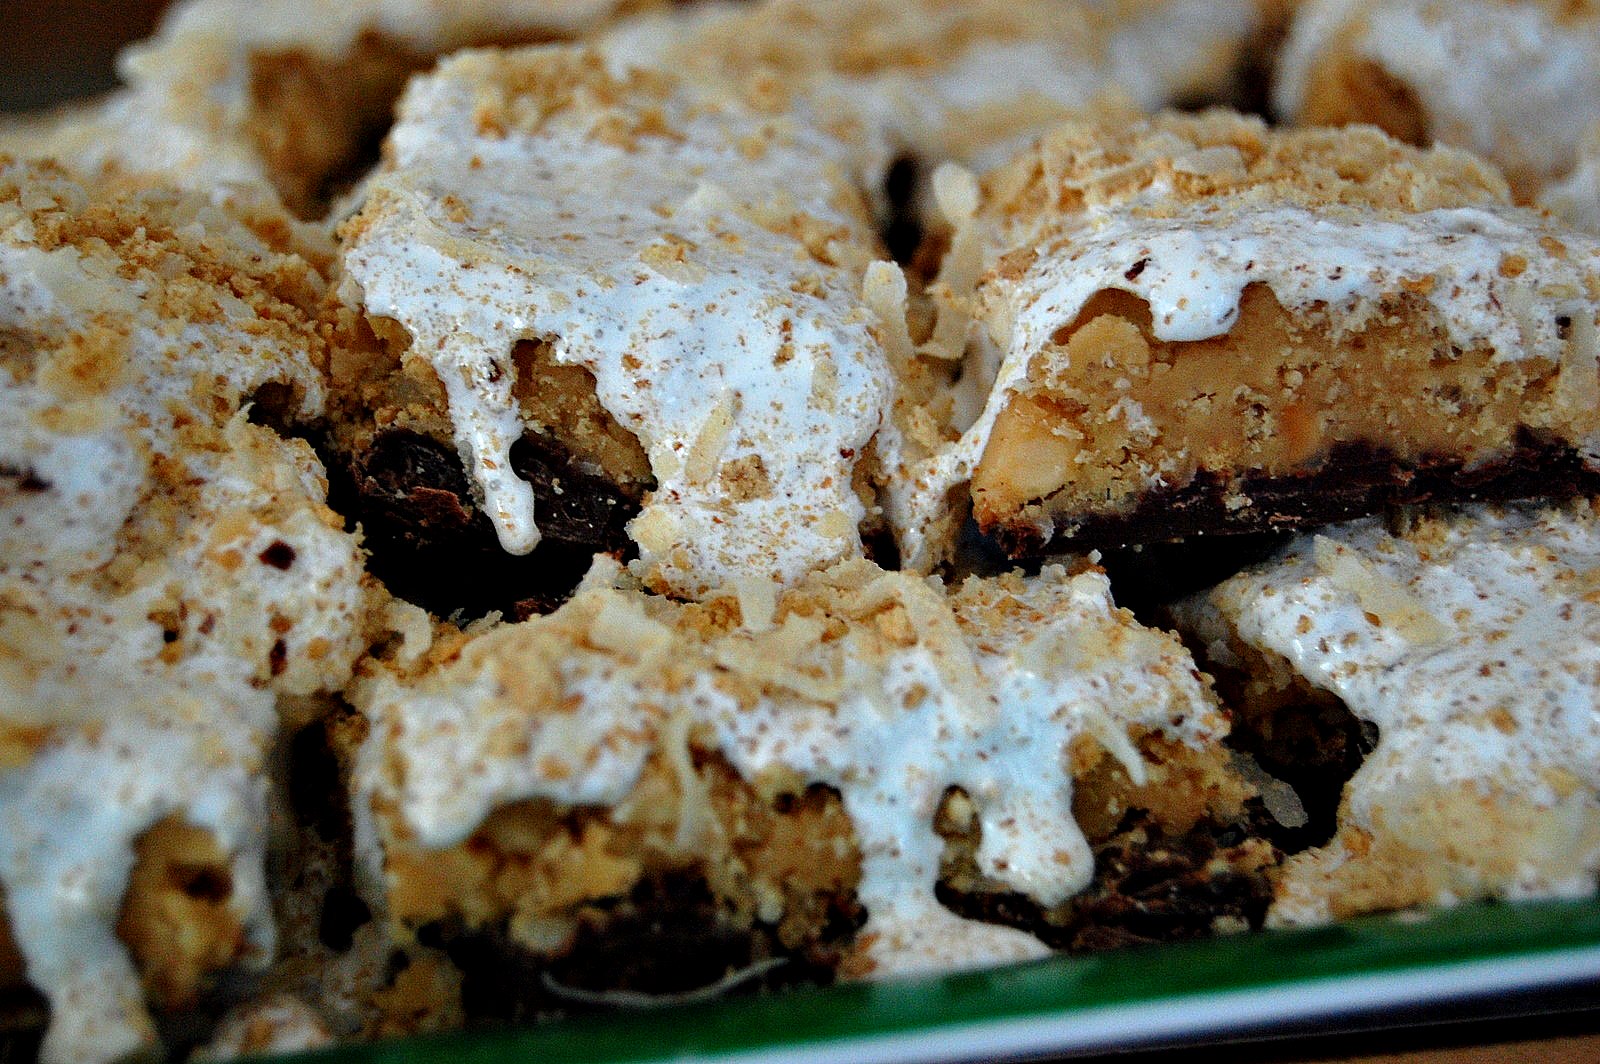
It's best to cut small bites because this dessert is very rich. It is also recommended to not leave it out on the counter too long because the marshmallow fluff will melt and make a sticky mess (pictured below).

To make the fancy cookie version of this bar double all ingredients. This makes 4 dozen cookies and takes about 2 hours of assembly time and 3 hours of refrigerating time. 

  • In a large bowl add peanut butter, butter and powdered sugar. Mix with electric mixer until smooth. Fold in rice cereal. Using a teaspoon scoop mixture into balls, then press into the shape of a quarter. Refrigerate for 30 minutes. 
  • To make bites, dip cookies into melted chocolate then toss in the graham cracker crumbs/coconut mixture until coated. Double coat each peanut butter coin. Arrange on wire racks and refrigerate for 30 minutes.
  • Add marshmallow fluff to pastry bag. Add dollops of fluff to one cookie and sandwich with another until all cookies are assembles. Refrigerate for 1 hour. 


Friday, December 30, 2011

Sugar Cookie Recipe


This post is a little late since Christmas is over but I thought I would share it anyway. This was my first attempt at making sugar cookies and it was a bit more difficult than I thought it would be. I was happy when they turned out well. The dough was dry and cracked, making it hard to roll out. After they baked they looked like normal. They were buttery, crunchy and only slightly sweet. They tasted great after we frosted them up. I liked them so much that I ate the majority of them before I took a picture of them. That's why only two are pictured after we frosted them. :)

Ingredients:

2 & 1/4 cups of unbleached all-purpose flour
3/4 cup plus 2 tablespoons sugar
1/4 teaspoon salt
2 sticks (1 cup) unsalted butter, cold and cut into 1/2 inch pieces
2 large egg yolks
2 teaspoons pure vanilla extract

Yields about 2 dozen cookies

Time: 45 minutes prep (which includes 30 minutes of chilling) and 20 minutes cook time.

Directions:

Place 3/4 cup of the sugar, flour and salt in a bowl. Mix with hand mixer to blend ingredients.


Add butter and mix on low until butter is broken in tiny pieces, about 2 to 3 minutes.


 Turn mixer on medium and mix until small clumps are about the size of peas, about 2 to 3 minutes. 


In a small bowl whisk together egg yolks and vanilla.


Add egg mixture to the butter mixture and blend on medium-low until dough comes together in large clumps. Using your hands knead dough until it comes completely together. Divide dough into half. 


Form dough into disks and cover tightly in plastic wrap. Refrigerate for at least 30 minutes.
You can chill in the refrigerator for up to 3 days and freeze for up to 2 months before using.


Place one disk of dough between two sheets of parchment paper and roll until 1/8 inch thick. If dough cracks it is too cold and needs to warm up a bit (although my dough continued to crack even after it was room temperature). If the parchment paper wrinkles while rolling it out, make sure to smooth out the wrinkles before continuing to roll it out. 

Use cookie cutters to cut the dough into desired shapes and transfer to a parchment lined cookie sheet, spacing the cookies 1 1/2 inches apart from one another. Scrapes of dough can be gently kneaded and re-rolled until all the dough is used. Be careful though because the more you work the dough the tougher the cookies will be. 


Preheat oven to 375 degrees F and place oven rack in the center. Before putting cookies in oven sprinkle them with the remaining sugar (if desired). Bake one pan at a time, rotating the sheet halfway through cooking. Cook anywhere from 8-13 minutes, or until light golden brown. 


Transfer to wire cooling rack and cool completely. Decorate as desired.

There is no extra sugar on top of these cookies.
Cookies can be stored in an airtight container at room temperature for up to one week. 

Thursday, December 29, 2011

The Perfect Chocolate Chip Cookie Recipe


When I was pregnant with my son I loved eating chocolate chip cookies. My favorite were the Pillsbury ones you get in the refrigerator section at the store. I was sooo sad to find out that they contain trans fats. I tried the natural alternatives but they just didn't taste the same. Thus I began my mission. I must have tried a dozen different combinations to figure out they best chocolate chip cookie recipe to suite my tastes. The one listed below is what I came up with. I figured out that not only are the quality of ingredients and proportions important but a couple other tricks really help make the perfect cookie. You will have to read the rest of the post to find out what those tricks are. :) I have had almost everyone who has tried these cookies ask for the recipe. I have also had someone ask me to bake them for a party they were throwing and another person ask me to bake them for their daughter's bake sale. Give them a try and let me know how they turn out for you.


Ingredients:


2 & 1/4 cups bread flour or unbleached all-purpose flour
1 cup salted butter (good quality), melted
1 teaspoon baking soda
3/4 cup granulated sugar (or baker's sugar)
3/4 cup light brown sugar, packed
1 large egg, 1 egg yolk
2 tablespoons milk
2 teaspoons vanilla extract
12 ounces semisweet chocolate chips (good quality, like Ghirardelli)

*This recipe makes  soft and chewy cookie (pictured above), if you want more of a crunchy Chips Ahoy type cookie (pictured at the bottom of post), half the butter, reduce the flour to 2 cups and add 1/2 teaspoon of salt to the dry ingredients!


Yields 2 dozen cookies


Time: 1 hour & 10 minute prep (an hour in chilling in the fridge) and 30 minute cook time


Directions:


Melt butter, set aside. In a medium bowl mix flour, salt and baking soda.


In a large bowl mix butter and sugar with an electric mixer until creamy and even in consistency.


Slowly add eggs, vanilla and milk to the creamed mixture. Mix with mixer for about 30 seconds. Add dry ingredients to the wet ingredients. Mix well. Fold in chocolate chips.


Cover tightly with plastic wrap and refrigerate for at least 1 hour, up to overnight.

Preheat oven to 375 degrees F. Line cookie sheet with parchment paper and place a generous dollop of cookie dough about 1 1/2 inches apart.


Bake for 6 minutes, then turn baking sheet to ensure even baking. Bake for an additional 5-7 minutes. Keep an eye on the cookies because they can burn easily. You want the sides to be be golden brown and the tops to not appear "wet".

Place cookies with parchment paper on a wire cooling rack. These cookies are best served fresh and slightly warm. 


Tricks I have learned....
  • Only use top quality butter (never use margarine) and chocolate chips.
  • Make sure the cookie dough is cold when you put it on the pan. It keeps the cookies from becoming flat.
  • Always use a silicon baking mat or parchment paper to keep cookies from sticking to baking sheet. 
  • Always turn cookie sheet halfway through cooking to make sure they cook evenly.
  • Use a small ice cream scoop to place dough on cookie sheet so they will be the same size and shape (I didn't do this to the cookies pictured above).
  • If using a baking stone- Place stone in oven while it is preheating. Place cookie dough on parchment paper on the counter and then place that directly on the hot stone. 
If using a stand mixer- Place butter and sugar in mixing bowl. Using the paddle attachment mix on medium speed, about 2 minutes.While still mixing add vanilla, eggs and milk. When well incorporated mix in salt, baking soda and flour. Mix until blended then turn the speed down to stir. Add chocolate chips and mix for an additional 15 seconds. 

Tuesday, November 22, 2011

Watergate Fruit Salad


This yummy fruit salad certainly tastes better than it looks. It isn't a dish that I normally would make because the ingredients are processed and there really isn't much fruit in it, but it tastes so good!! My aunt Cindy made it last year at Christmas and it was delicious. It is also very easy to make and only requires a few ingredients. It tastes better  when it sits in the fridge for a few hours, so you can make it well in advance.


Ingredients:


1 can (20 ounces) of crushed pineapple, undrained
1 cup miniture marshmallows
1 1/2 cup cool whip, thawed
1 package (4 1/2 serving size) of Jell-O brand pistachio pudding mix
1/2 cup chopped pecans


Yields (8) 1/2 cup servings


Time: 5 minutes prep and 1 hour (at least) refrigeration time.


Directions:


Mix all ingredients except cool whip in a large bowl.


Gently fold in cool whip until just blended.


Cover with foil or plastic wrap and refrigerate for at least 1 hour before serving. This allows the marshmallows to soften and the flavors to blend.

Sunday, October 30, 2011

Raspberry Yogurt Parfait


There is nothing fancy or gourmet about this parfait but it is simple and delicious. Greek yogurt has a lot of protein and the homemade granola is packed with nuts, oats and healthy seeds. It's sweet, creamy, crunchy and good for you all at the same time. 


Ingredients:


Homemade granola (recipe available on this blog)
Homemade raspberry jam (recipe available on this blog)
Vanilla or Greek low-fat yogurt


Directions:


Layer as much and however you like. I used 3/4 cup of yogurt with 2 heaping teaspoons of jam. Top with a handful of granola and add more as needed. 

If you are feeling fancy you can do a 3/4 ricotta cheese to 1/4 yogurt mixture for extra creaminess. The texture seems a little odd in the first couple bites but it's really good and really popular in Italy (or so I hear).

Or add fresh fruit.

Friday, October 28, 2011

Banana-Nut Bread Recipe


This banana bread recipe is pack full of banana taste. The crust is chewy and the inside is very moist and tender. It goes great with some butter on top and a cup of coffee. Enjoy.


Ingredients:


2 cups all-purpose flour
1 teaspoon of baking soda
1/4 teaspoon of salt
1/2 cup of butter
3/4 cup of brown sugar
2 eggs, beaten
2 1/3 cups of mashed overripe bananas
1/2 cup of chopped walnuts


Topping:


1 egg, beaten
1/4 cup of chopped walnuts
1 tablespoon of wheat germ
1 table spoon of sugar


Yields: 1 loaf


Time: 5 minutes prep and 65 minutes bake time. 


Directions:


Preheat oven to 350 degrees F. Lightly grease a 9x5 inch loaf pan.

In a large bowl combine flour, baking soda and salt. In a separate bowl cream butter and sugar. Mix in eggs and bananas until well blended. Stir banana mixture into flour mixture.  Add walnuts. Stir just until combined. Pour batter into loaf pan.

Bake for about 40 minutes. Take out and brush egg mixture on top of loaf. Sprinkle on nuts, sugar and wheat germ. Return to oven and bake an additional 20-25 minutes or until toothpick comes out clean. 

Let cool for 10 minutes, then let finish cooling on wire cooling rack. 

Tuesday, October 18, 2011

Quick & Easy Lemon Raspberry Cheesecake Turnover


I didn't realize how quick and easy making a turnover was until I made one the other day. It is so versatile too. If you don't like the lemon raspberry cheesecake filling you can substitute it for literally anything. It can be sweet or savory. Next time I make one I plan on making an cinnamon apple turnover, because that is my favorite. Preparing and sauteing the apple filling will only add an additional 10 minutes to the prep time (Recipe coming soon!). 


It's perfect if you want to make a quick, fresh dessert for only a couple people. 


Ingredients:


1 sheet of puff pastry, thawed
Homemade raspberry jam (recipe available on blog)
Homemade lemon cheesecake (recipe available on blog) or cream cheese. 
1 egg
1/2 tablespoon of water
all purpose flour
granulated sugar


Yields two large turnovers, enough for 2-4 people


Time: 10 minutes prep, 15-20 minutes cook time


Recipe: 


Preheat oven to 375 degree F. Flour a flat surface and roll out pastry dough so that it is about 1/2 thick. Shape into a square. Cut down middle so can make two desserts. Spread raspberry jam in the middle of each pastry piece. Remove crust from cheesecake and mix in a small bowl. Spread a thin layer of cheesecake filling onto of pastry. 


Fold each pastry over and seal edges with fork.
Once sealed, gently push towards the outside of the turnover so make sure the filling is evenly spread. 
(A traditional turnover is triangle shaped but I just made mine into rectangles)

  
Make an egg wash by beating one egg and 1/2 tablespoon of water together (this helps give it a golden brown color when baking). Lightly coat with egg wash and sprinkle with sugar. Bake for about 15-20 minutes or until golden brown. 


Serve by itself or with some vanilla ice cream and whipped cream.

Friday, October 14, 2011

Lemon Cheesecake Recipe


Having lived in close proximity to several Cheesecake Factories in Southern California made me spoiled. Where I live now in Colorado the nearest Cheesecake Factory is over an hour away. This makes me really sad since its my favorite restaurant, but at least now I have an excuse to try to make cheesecake myself. :) This recipe was very easy to make. It is very rich so consider serving it along side some fresh fruit to balance it out. 

Plan ahead, the cheesecake needs to chill overnight before serving.

Ingredients:


    CRUST:
  • 1 1/4 cups graham cracker crumbs
  • 3/4 cup finely chopped walnuts of peacans
  • 1/4 cup sugar
  • 1/3 cup butter, melted

  • FILLING:
  • 4 (8 ounce) packages cream cheese, softened
  • 1 1/4 cups sugar
  • 4 eggs
  • 2 tablespoon lemon juice
  • 2 teaspoons grated lemon peel
  • 1 teaspoon vanilla extract

  • TOPPING:
  • 2 cups sour cream
  • 1/4 cup sugar
  • 1 teaspoon grated lemon peel
  • 1 teaspoon vanilla extract

Recipe:

Preheat oven to 350 degrees F


In a bowl, combine crumbs, nuts and sugar, stir in butter. Press onto the bottom of a buttered 10 inch pan, set aside. In a mixing bowl, beat cream cheese and sugar until smooth. Add eggs, beating on low speed just until combined. Add lemon juice, peel and vanilla, beat just until blended. Pour into crust.

Bake for 55 minutes or until center is almost set (only a little batter remains on knife after checking the center). Remove from the oven and let stand for 5 minutes. Combine topping ingredients, spread over filling. Return to the oven for 5 minutes. Cool on a wire rack for 10 minutes.

Carefully run a knife around edge of pan to loosen then cool 1 hour longer. Refrigerate overnight. Let stand at room temperature for 30 minutes before slicing. Serve with seasonal fresh fruit and lemon twist as garnish.

Store in refrigerator for up to 3 days. It does well when frozen. To defrost, simply place cheesecake in fridge for several hours. If you can't wait that long, place on plate, cover with upside down bowl and defrost in microwave for about a minute.