Saturday, December 31, 2011

Crunchy Peanut Butter and S'mores Cookie Bites


A couple years ago I participated in a cookie exchange. I really wanted to make a cookie that no one had ever had before. After doing a lot of investigating I came across a great recipe. The only trouble was that it took hours to put the cookies together. They were such a hit but I didn't want to go through all that trouble making them again. This year I decided to try the cookie recipe as a bar. They still tasted great and it took a so much less time and effort to make. The original recipe is worth a try if you have the ambition to really impress your friends and family with something different. I will put that recipe at the bottom of this post if you are interested in trying it out. 


Sorry the pictures on this post are so bad. My camera stopped working so I took these pics with my cell phone.


Ingredients:


1 cup crunchy peanut butter
3/4 stick of butter
2 1/2 cups powdered sugar
1 1/2 cups puffed rice cereal 
12 ounces semisweet chocolate chips, melted
1 cup graham cracker crumbs
3/4 cup coconut flakes
1/2 to 1 cup marshmallow fluff


Yields around 2 dozen bites


Time: 30 minutes prep time and 5 minutes cooking time (in microwave)


Directions:


Pour chocolate chips in small microwave bowl. Microwave for 1 minute and 30 seconds on 50% reduced power. Stir and microwave in 20 second increments until chocolate is melted completely. 


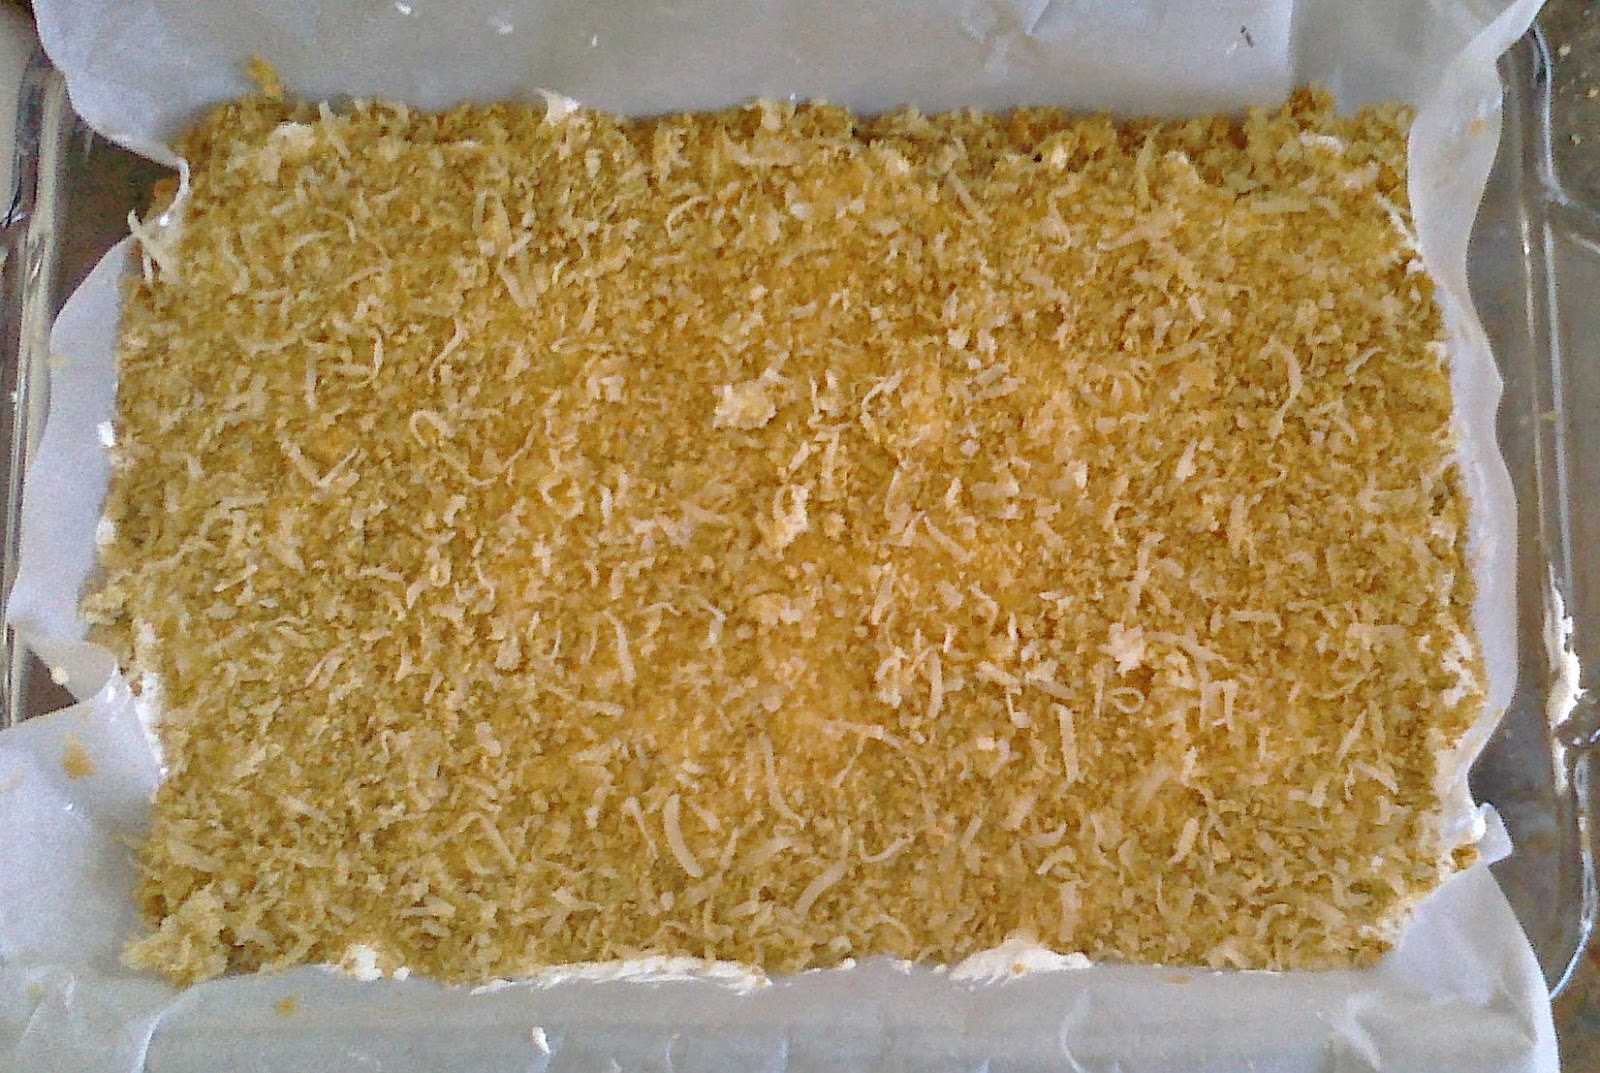
Line a 9x13 inch baking pan with parchment paper. Pour melted chocolate on paper and spread an even layer across bottom of pan. 


I would recommend skipping this next step because it stopped the chocolate from sticking to the rest of the bar and it kept falling off. 

But here it is if you were curious... Mix the graham cracker crumbs and coconut together. Evenly spread half the mixture across the chocolate.


In a small microwave bowl melt butter and peanut butter. Mix well.


Pour powdered sugar in medium bowl. Add melted peanut butter and butter mixture to the powdered sugar and mix well. 


Fold in puffed rice cereal.


Place dollops of mixture on top of the chocolate mixture in pan. Refrigerate for 30 minutes.


Remove from fridge and gently spread topping into a smooth, even layer.


Spread marshmallow fluff in a smooth, even layer.


Spread the remaining graham cracker crumb/ coconut mixture on top of the fluff. If you skip the step that I recommend you will have plenty of this mixture, if you don't, you might want to make more to cover the top completely.


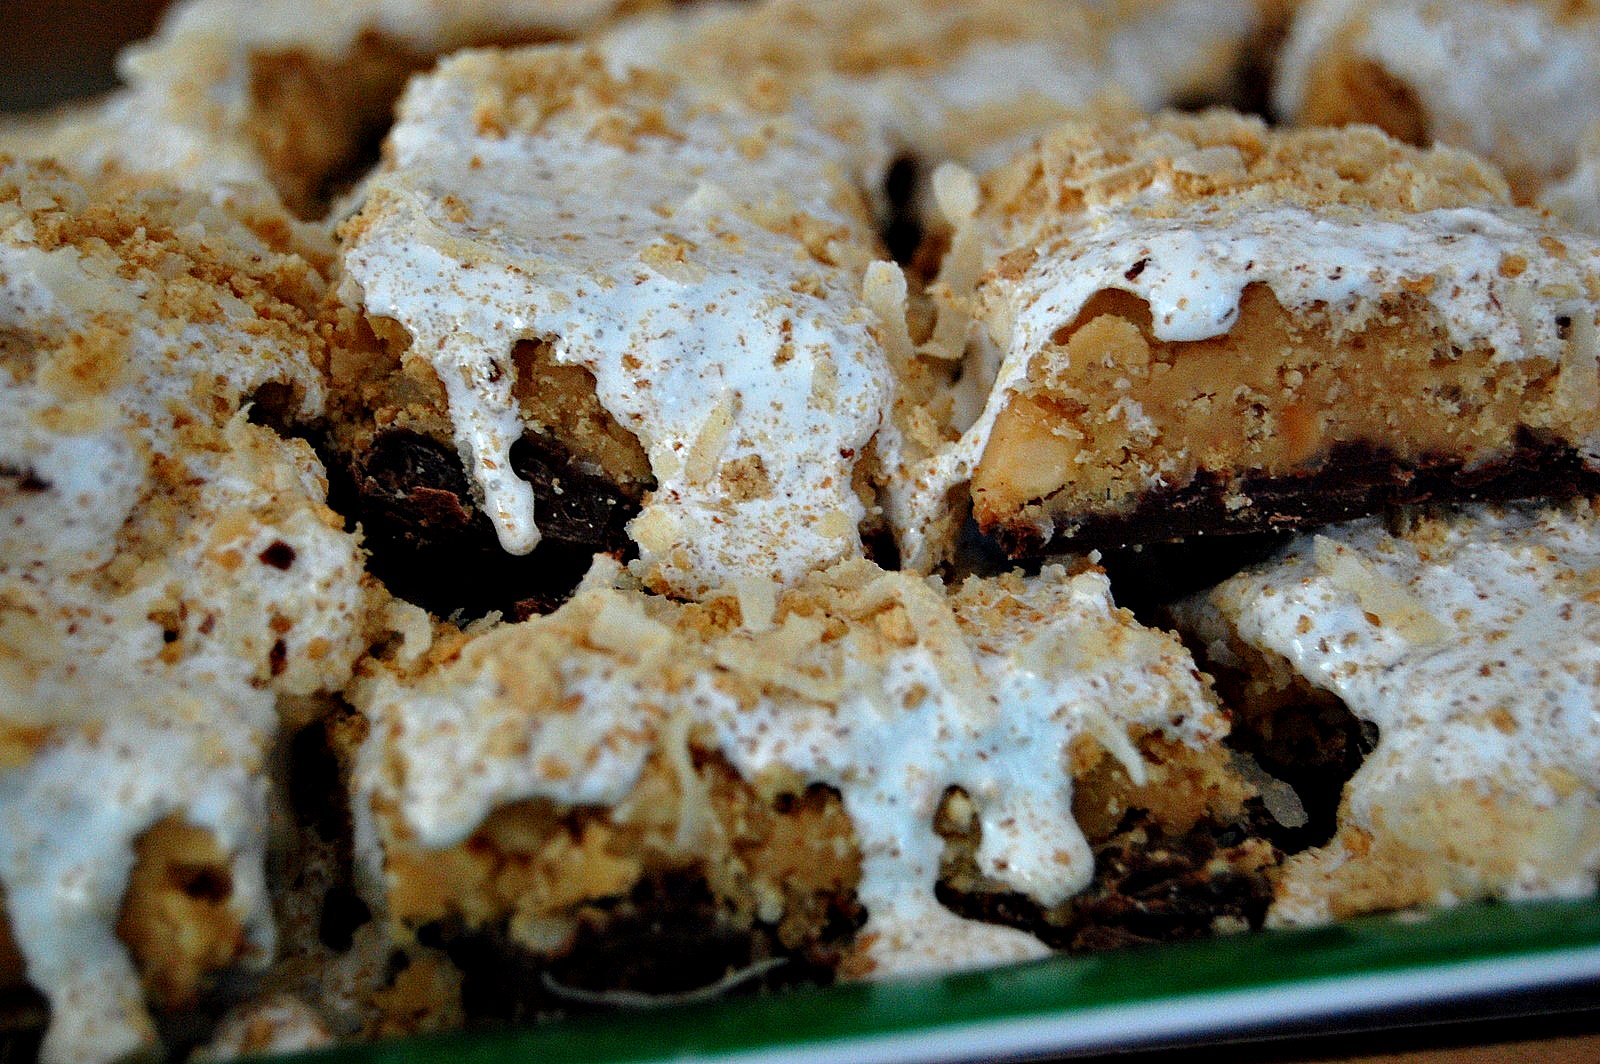
Cover and refrigerate for 2 hours before serving.  To cut easily, pour hot water in a coffee mug. Place a sharp knife in the hot water and cut one section at a time. Replace knife when it becomes sticky. 

It's best to cut small bites because this dessert is very rich. It is also recommended to not leave it out on the counter too long because the marshmallow fluff will melt and make a sticky mess (pictured below).


To make the fancy cookie version of this bar double all ingredients. This makes 4 dozen cookies and takes about 2 hours of assembly time and 3 hours of refrigerating time. 

  • In a large bowl add peanut butter, butter and powdered sugar. Mix with electric mixer until smooth. Fold in rice cereal. Using a teaspoon scoop mixture into balls, then press into the shape of a quarter. Refrigerate for 30 minutes. 
  • To make bites, dip cookies into melted chocolate then toss in the graham cracker crumbs/coconut mixture until coated. Double coat each peanut butter coin. Arrange on wire racks and refrigerate for 30 minutes.
  • Add marshmallow fluff to pastry bag. Add dollops of fluff to one cookie and sandwich with another until all cookies are assembles. Refrigerate for 1 hour. 


Friday, December 30, 2011

Sugar Cookie Recipe


This post is a little late since Christmas is over but I thought I would share it anyway. This was my first attempt at making sugar cookies and it was a bit more difficult than I thought it would be. I was happy when they turned out well. The dough was dry and cracked, making it hard to roll out. After they baked they looked like normal. They were buttery, crunchy and only slightly sweet. They tasted great after we frosted them up. I liked them so much that I ate the majority of them before I took a picture of them. That's why only two are pictured after we frosted them. :)

Ingredients:

2 & 1/4 cups of unbleached all-purpose flour
3/4 cup plus 2 tablespoons sugar
1/4 teaspoon salt
2 sticks (1 cup) unsalted butter, cold and cut into 1/2 inch pieces
2 large egg yolks
2 teaspoons pure vanilla extract

Yields about 2 dozen cookies

Time: 45 minutes prep (which includes 30 minutes of chilling) and 20 minutes cook time.

Directions:

Place 3/4 cup of the sugar, flour and salt in a bowl. Mix with hand mixer to blend ingredients.


Add butter and mix on low until butter is broken in tiny pieces, about 2 to 3 minutes.


 Turn mixer on medium and mix until small clumps are about the size of peas, about 2 to 3 minutes. 


In a small bowl whisk together egg yolks and vanilla.


Add egg mixture to the butter mixture and blend on medium-low until dough comes together in large clumps. Using your hands knead dough until it comes completely together. Divide dough into half. 


Form dough into disks and cover tightly in plastic wrap. Refrigerate for at least 30 minutes.
You can chill in the refrigerator for up to 3 days and freeze for up to 2 months before using.


Place one disk of dough between two sheets of parchment paper and roll until 1/8 inch thick. If dough cracks it is too cold and needs to warm up a bit (although my dough continued to crack even after it was room temperature). If the parchment paper wrinkles while rolling it out, make sure to smooth out the wrinkles before continuing to roll it out. 

Use cookie cutters to cut the dough into desired shapes and transfer to a parchment lined cookie sheet, spacing the cookies 1 1/2 inches apart from one another. Scrapes of dough can be gently kneaded and re-rolled until all the dough is used. Be careful though because the more you work the dough the tougher the cookies will be. 


Preheat oven to 375 degrees F and place oven rack in the center. Before putting cookies in oven sprinkle them with the remaining sugar (if desired). Bake one pan at a time, rotating the sheet halfway through cooking. Cook anywhere from 8-13 minutes, or until light golden brown. 


Transfer to wire cooling rack and cool completely. Decorate as desired.

There is no extra sugar on top of these cookies.
Cookies can be stored in an airtight container at room temperature for up to one week. 

Thursday, December 29, 2011

The Perfect Chocolate Chip Cookie Recipe


When I was pregnant with my son I loved eating chocolate chip cookies. My favorite were the Pillsbury ones you get in the refrigerator section at the store. I was sooo sad to find out that they contain trans fats. I tried the natural alternatives but they just didn't taste the same. Thus I began my mission. I must have tried a dozen different combinations to figure out they best chocolate chip cookie recipe to suite my tastes. The one listed below is what I came up with. I figured out that not only are the quality of ingredients and proportions important but a couple other tricks really help make the perfect cookie. You will have to read the rest of the post to find out what those tricks are. :) I have had almost everyone who has tried these cookies ask for the recipe. I have also had someone ask me to bake them for a party they were throwing and another person ask me to bake them for their daughter's bake sale. Give them a try and let me know how they turn out for you.


Ingredients:


2 & 1/4 cups bread flour or unbleached all-purpose flour
1 cup salted butter (good quality), melted
1 teaspoon baking soda
3/4 cup granulated sugar (or baker's sugar)
3/4 cup light brown sugar, packed
1 large egg, 1 egg yolk
2 tablespoons milk
2 teaspoons vanilla extract
12 ounces semisweet chocolate chips (good quality, like Ghirardelli)

*This recipe makes  soft and chewy cookie (pictured above), if you want more of a crunchy Chips Ahoy type cookie (pictured at the bottom of post), half the butter, reduce the flour to 2 cups and add 1/2 teaspoon of salt to the dry ingredients!


Yields 2 dozen cookies


Time: 1 hour & 10 minute prep (an hour in chilling in the fridge) and 30 minute cook time


Directions:


Melt butter, set aside. In a medium bowl mix flour, salt and baking soda.


In a large bowl mix butter and sugar with an electric mixer until creamy and even in consistency.


Slowly add eggs, vanilla and milk to the creamed mixture. Mix with mixer for about 30 seconds. Add dry ingredients to the wet ingredients. Mix well. Fold in chocolate chips.


Cover tightly with plastic wrap and refrigerate for at least 1 hour, up to overnight.

Preheat oven to 375 degrees F. Line cookie sheet with parchment paper and place a generous dollop of cookie dough about 1 1/2 inches apart.


Bake for 6 minutes, then turn baking sheet to ensure even baking. Bake for an additional 5-7 minutes. Keep an eye on the cookies because they can burn easily. You want the sides to be be golden brown and the tops to not appear "wet".

Place cookies with parchment paper on a wire cooling rack. These cookies are best served fresh and slightly warm. 


Tricks I have learned....
  • Only use top quality butter (never use margarine) and chocolate chips.
  • Make sure the cookie dough is cold when you put it on the pan. It keeps the cookies from becoming flat.
  • Always use a silicon baking mat or parchment paper to keep cookies from sticking to baking sheet. 
  • Always turn cookie sheet halfway through cooking to make sure they cook evenly.
  • Use a small ice cream scoop to place dough on cookie sheet so they will be the same size and shape (I didn't do this to the cookies pictured above).
  • If using a baking stone- Place stone in oven while it is preheating. Place cookie dough on parchment paper on the counter and then place that directly on the hot stone. 
If using a stand mixer- Place butter and sugar in mixing bowl. Using the paddle attachment mix on medium speed, about 2 minutes.While still mixing add vanilla, eggs and milk. When well incorporated mix in salt, baking soda and flour. Mix until blended then turn the speed down to stir. Add chocolate chips and mix for an additional 15 seconds. 

Wednesday, December 21, 2011

Homemade Mac N' Cheese


Who doesn't love a good macaroni and cheese? It's personally one of my favorite things to eat. I recently went to visit my grandmother and she requested I make this. It's super easy and pretty quick. You have to try it! If you do, make sure to use sharp cheddar and not mild. 

Ingredients:

1 1/2 cups (12 ounces) small elbow noodles, uncooked
4 tablespoons butter, unsalted
4 tablespoons all-purpose flour
1/2 teaspoon salt
1/4 teaspoon black pepper
1 cup heavy cream
1 cup milk
2 cups sharp cheddar cheese, shredded (plus more to top the breadcrumbs)
1/2 cup bread crumbs, unseasoned

Yields 4 servings (I usually double it when cooking  for more than my husband and son)

Time: 15 minutes prep (includes cooking the noodles) and 35 minutes cook time.
*If you are a good multi-tasker you can save time by cooking the noodles while you make the cheese sauce. 

Directions:

Preheat your oven to 400 degrees F. Cook noodles as directed on box. Drain and rinse with cold water. Noodles should be slightly more al dente then you usually like. They will continue to soften when you bake them in the oven later.

In a medium saucepan melt butter over medium high heat. Add flour, salt and pepper, whisking constantly. This makes a roux.


Lower heat to medium. Add cream and milk. Whisk constantly as the mixture thickens to desired consistency, 5-10 minutes. 
Don't step away during this part, it can burn quickly. 


Add cheese into mixture. Stir well and allow cheese to fully melt, about 3-5 minutes. 


Add noodles to cheese mixture in saucepan.  Make sure cheese sauce is evenly coating all noodles. Pour into a baking pan. Top with breadcrumbs and then with a thin layer of cheese.

I topped half with sliced fresh tomatoes, per my grandmother's request. 
Bake for 20 minutes or until bubbling and breadcrumbs are golden. 

I cheated and finished browning the breadcrumbs via the broiler.
Freezing and storing: This dish is great to make ahead of time and freeze. Follow all steps up to the part where you top with breadcrumbs and cheese. Simply pour the cheese/noodle mixture in an airtight container and freeze. It's good for up to 1 month in the freezer. The night before you want to make it, place the frozen mixture in the fridge. When it is defrosted top with breadcrumbs, cheese and bake normally. 

Friday, December 16, 2011

Baking 101- The Difference Between Flours


Shopping for flour can get confusing when you are bombarded with so many different choices. Most people just go with all-purpose flour or whole wheat. You see the bread flour and can assume its for baking bread, but why? What makes one flour better suited for one type of baking and not another. There is a lot to know. Here is some basic info about the different types of flour out there. Hopefully this will help you make the right choice in your quest for baking perfection.


Cake flour-
It contains 5 to 7 percent protein (considered low) which produces a very tender, fine crumb. This type of flour is important if you want a light angel food cake, sponge cake, chiffon or other foam cakes. Another upside is that it contains such little protein that its virtually impossible to over mix and over develop the gluten (which stiffens the cake).


Pastry flour- 
It contains 7 to 9 percent protein. This flour is great for making pie crusts. It is just enough protein to create gluten to hold the pie crust together but won't become still from over mixing. Apparently this type of four can be difficult to buy at a regular grocery store. If you want to try it, look for it at the bulk section of a natural foods store. You can also substitute this type of flour with unbleached all-purpose flour. 


Self-rising flour-
It contains 7 to 11 percent protein. This is considered low to medium protein flour that is similar to pastry and all-purpose flour. It also contains 1 1/2 teaspoons of baking powder and 1/2 teaspoon of salt per cup of flour. You should only use this flour in recipes that specifically calls for it. 


All-purpose flour-
It contains 7 to 12 percent protein. This is probably the most common type of flour that people buy. It can be used for just about every type of baking, although it is usually not the best choice for most recipes. The old saying "jack of all trades, master of none" is true for this flour. One of the big reasons this type of flour is not good for specific baking, such as pastries, is because it is not consistent.  The reason for this is that each brand of flour has its own blend that has varying protein levels. 


You should also stay away from bleached all-purpose flour. When it is bleached it takes away flavor and protein. According to Cindy Mushet, you should stick to national brands such as Gold Medal. Be sure you get unbleached.


Bread flour-
This contains a high level of protein, between 12 to 14 percent. It is great for making bread because the high level of protein helps produce enough gluten. Gluten helps the bread expand whilst still holding its shape (For more information check out my upcoming post on how gluten works). I also use bread flour in my chocolate chip cookie recipe because it produces a hardier cookie. If you are having trouble producing flat cookies you should try using this type of of flour instead. 


Wheat flour-
This type of flour also is high in protein. I could not find the specific percentage though. Since it is higher in protein it produces a good amount of gluten and can be in bread making. You can also use this type of flour in your other baking goods but be aware that it produces a denser product. 


I recently took a bread making class and was surprised to find out that the wheat flour sold next to the other flours at the grocery store are not as good for you as you would think. In order for the flour to stay fresh at room temperature for an extended period of time, the manufacturer must remove much of the "good for you" elements found in the wheat kernel. The only difference between the wheat flour and unbleached all-purpose flour at the store are the addition of 3 B vitamins. Wheat flour is much better for you but only if it has been freshly milled. You can find this flour at health food stores in the refrigerator section. 
For more information please check out http://ourdailykneads.com/index.php?option=com_content&view=article&id=22:a-single-seed-of-wheat&catid=39:nutritional-information&Itemid=2


Storing flour-
All flour should be stored in an airtight container. It can be left at room temperature but Refrigerating or freezing can significantly extend the shelf life of all flours. White flours only have a shelf life of 9 months and whole wheat flour at the supermarket, only a couple months. It is important to keep fresh flour because it will dry out and cause your ratios to be off in your recipes. 

Wednesday, December 7, 2011

How To Make Your Berries Last Longer!


This tip is from my friend Rutie's blog at http://spiceoflifeasawife.blogspot.com/. I haven't tried it yet but I am very excited to. There is nothing I hate more than to buy expensive berries and have them become moldy by the next day. If you try this, let me know how it works for you!

It's super easy to do...

Mix 1 part vinegar (apple cider is recommended) to 10 parts water. Rinse berries with the mixture to kill bacteria and spores!

Monday, December 5, 2011

Cheesy Au Gratin Potato Recipe


I have noticed a trend in my cooking over the past several months. I have been focused on comfort foods. It may be because its the holiday season, or that I recently moved to freezing cold Colorado or maybe its because I am nearing my 8th month of pregnancy. :) Anyway, this dish is great comfort food. Who doesn't love cheesy, creamy potatoes with a hint of garlic? I served it on Thanksgiving and it was a great hit. I tried to get feedback from my husband about what to change for the next time I make it and he told me "don't change a thing".  Hope you enjoy!


Ingredients:


4 Russet potatoes, sliced to 1/4 inch slices
1 medium yellow onion, diced 
Salt & pepper to taste
3 tablespoons unsalted butter
3 tablespoons all-purpose flour
2 garlic cloves, minced
1/2 teaspoon salt
2 cups whole milk
2 cups sharp cheddar cheese, shredded


Yields a side for 5-6 people


Time: 10-30 minutes prep (depending on how you cut the potatoes) and 1 hour 45 minutes cook time.


Directions:


Preheat oven to 400 degrees F. Butter a 9x13 baking dish. Layer dish with sliced potatoes and gently mix in diced onions. 


In a medium saucepan melt butter over medium heat. Add minced garlic and saute for about 30 seconds. Mix in flour and salt, stirring with a whisk for about 1 minute. 

Stir in milk. Cook until mixture has thickened. Stir in cheese all at once and continue stirring until melted, about 30 seconds to 1 minute. 


Pour cheese mixture over potatoes and gently combine so all the potatoes are covered. Lightly top with additional cheese (optional). I used freshly grated aged Parmesan cheese.


Cover tightly with non-stick foil or foil sprayed with cooking spray and cook for about 1 1/2 hours or until potatoes are soft and the liquid is absorbed. 

If you like a crusty top, remove foil 15-20 minutes before taking out of the oven. 

Monday, November 28, 2011

Homemade Creamed Corn Recipe


Canned creamed corn was one of my favorites growing up. However, as an adult canned creamed corn grosses me out. My husband is not a fan either. This Thanksgiving I wanted to see if homemade creamed corn was much better. This creamed corn recipe was really good. I plan on making it at my future holiday dinners and maybe every once in a while through out the year (it has too much fat to have all the time). The original recipe calls for frozen corn but I opted fresh instead. I think frozen corn tends to be mushy and since its already creamed I thought it needed the crunch and sweetness of fresh.


Ingredients:


2 1/2 cups of fresh corn kernels (5 or 6 cobs) or 2 (10 ounce) packages of frozen corn
1 cup heavy whipping cream
1 teaspoon salt
2 tablespoons granulated sugar
1/4 teaspoon freshly ground black pepper
2 tablespoons unsalted butter
1 cup whole milk
2 tablespoons all-purpose flour
1/4 cup freshly grated aged Parmesan cheese, plus more for garnish


Yields 6 servings


Time: 20 minutes prep and 15 minutes cook time.


Directions:

Shuck and clean the corn. Blanch- In a medium to large pot fill 3/4 of the way with water. Bring to a rapid boil. Add a couple pinches of salt and add the corn. 


Return to boil and let boil for 5 minutes. 
Drain corn and shock (place in an ice water bath).


Drain the water. Holding the corn vertically and using a sharp knife, cut the kernels off the cob. Using the backside of the knife, scrape the corn to remove the pulp from the cob. 


In a large skillet or saucepan add the corn, butter, cream, salt, pepper and sugar.  Mix well and heat over medium until butter is melted. In a small bowl whisk together milk and flour. Add to the corn mixture. 


Let simmer until sauce is thickened and corn is soften to desired texture. Remove from heat and stir in Parmesan cheese.  Garnish with freshly grated Parmesan cheese and serve immediately. 


I have made this recipe twice. The first time I thought it would be really good to add a lot of Parmesan cheese to the top and bake in the oven to melt. I did not like this version at all. It was way too cheesy and overwhelmed the dish. The second time I just garnished the corn with a little bit of the Parmesan cheese. Both my husband and I thought this was the best tasting way. 

Saturday, November 26, 2011

Homemade Cranberry Sauce (with Pineapple)


You can whip this quick and easy sauce up in a matter of minutes. It tastes great and is better for you because it's made of fresh fruit. You can skip adding the crushed pineapple at the end and serve the traditional sauce. However, you should give the pineapple a try if you have never had it. It adds texture and the sweetness of the pineapple cuts the sourness of the cranberry. It becomes more palatable for kids and people that are not normally fans of the traditional sauce. 


Ingredients:


1 (12 ounces) package of fresh cranberries, rinsed well
1 cup granulated sugar
1 cup water
* Optional- 1 can (20 ounces) crushed pineapple, drained well


Yields 2 cups (with no pineapple) and 3 cups (with pineapple)


Time: 5 minutes prep and 10 minutes cook time.


Directions:


In a medium saucepan add water and sugar. Bring to a boil until sugar is completely dissolved. 


Add cranberries and return to boil. 


Let boil for 10 minutes.


Place in an airtight container and let cool on counter to room temperature. 
Or add the crushed pineapple (drained) and stir in well. 

Serve or store in the refrigerator. You can also freeze any extra and serve at your next holiday!